




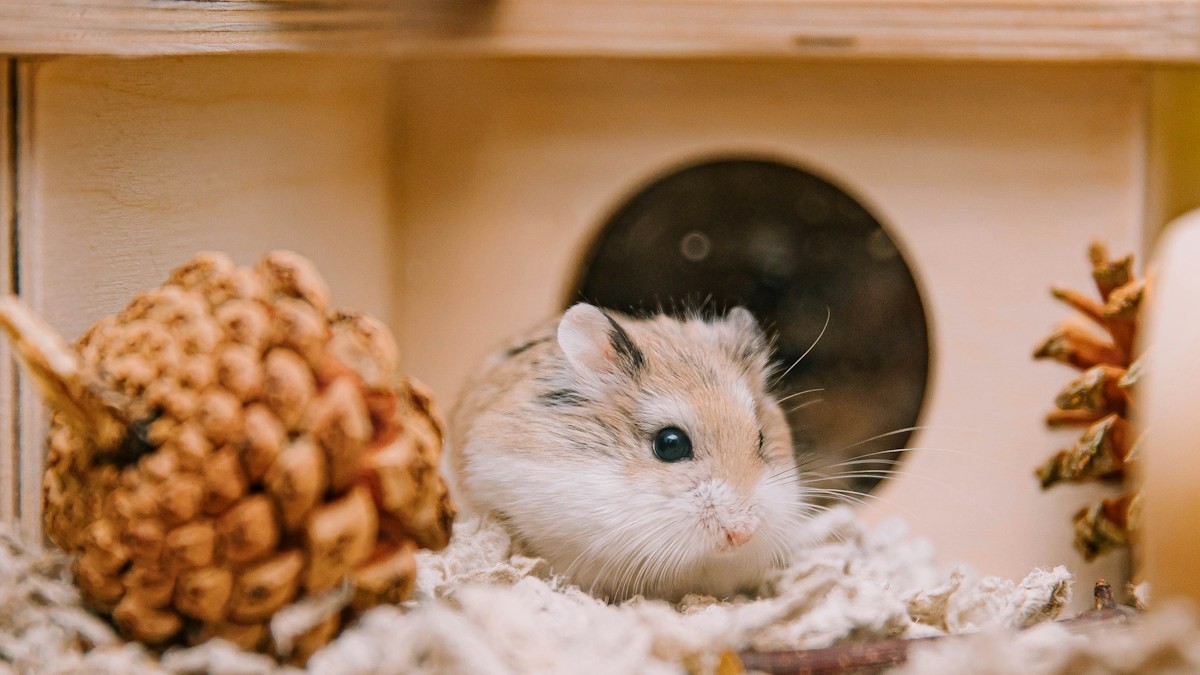
In recent years, a revolutionary paradigm shift has transformed the small pet hobby: the rise of German-style naturalistic hamster husbandry (*Naturgehege*). For decades, pet owners settled for garish neon-colored plastic trays, chemical-dyed bedding, and synthetic plastic igloos that resembled children’s toy sets rather than natural environments. Animals kept in these barren setups were chronically bored, stressed, and disconnected from their wild biological heritage.
Naturalistic hamster keeping rejects artificial plastics in favor of organic, earth-toned environments that mirror the wild steppes and arid grasslands of Eurasia. By incorporating varying substrate textures (paper bedding, sterilized quartz sand, dried coco peat, beechwood chips), multi-chamber wooden hideouts that mimic underground burrow burrows, and vertical foraging sprays, you transform an enclosure into a thriving biological sanctuary.
In this comprehensive DIY crafting masterclass, we teach you how to build DIY naturalistic hamster enclosures. You will learn the architectural blueprints of bottomless multi-chamber sleeping houses, discover how to establish tactile sensory zones that stimulate curious paws, and master safety protocols for introducing natural branches, moss, and stones.
The Multi-Chamber Hideout: Recreating the Subterranean Burrow
In nature, a hamster never sleeps in a single open room; their burrow consists of separate, dedicated underground chambers.
The Three-Room Architectural Blueprint
A proper naturalistic hideout features at least three interconnected rooms: a primary sleeping chamber, a food hoard cache room, and a designated toilet chamber where a small ceramic dish of sand is placed.
Hamsters naturally sleep in the innermost dark chamber, store their prized seed caches in the adjacent dry room, and use the sand corner for urination, keeping their sleeping nest clean and dry.
The Bottomless Design with a Removable Roof
Never purchase wooden hideouts with closed wooden floors. A naturalistic hideout must be bottomless, placed directly on top of 10 inches of bedding so the hamster can burrow downward from inside their house into the substrate.
Crucially, the hideout must feature a flat, removable roof lid. This allows you to check on your pet and spot-clean the toilet dish without tearing apart their delicate underground nest structure.
Substrate Diversity: Creating Sensory Textures
Monotonous single-bedding enclosures fail to provide tactile enrichment. Establishing multi-textured zones stimulates natural sensory exploration.
The Dedicated Sand Bath Enclosure
Dedicate at least 20% of your enclosure’s floor area to a deep sand bath. Use non-toxic, calcium-free quartz reptile sand or washed play sand baked in an oven at 350°F (175°C) for 30 minutes to sterilize moisture and bacteria.
Dwarf hamsters and Roborovskis in particular spend hours rolling, grooming, and sprinting across sand.
Coco Fiber Peat and Beechwood Granules
Place heavy ceramic or glass baking dishes filled with alternative natural substrates: organic coconut coir peat (thoroughly dried to eliminate humidity) and beechwood or cork bark chips.
Hamsters love burying seeds in coco peat and clawing through cork granules, which provides sensory stimulation while naturally filing down sharp claws.
Platforms, Heavy Item Stabilization, and Botanical Styling
In deep bedding habitats, heavy accessories present fatal collapse hazards if not supported by sturdy wooden stilts.
The Stilt Platform Safety Rule
Never place heavy ceramic bowls, multi-chamber hideouts, sand baths, or wooden running wheels directly on top of deep bedding. When your hamster burrows underneath, the heavy item will sink and crush them.
Mount all heavy items on wooden stilt platforms resting securely on the bottom glass base of the tank, allowing the animal to burrow safely beneath the elevated platform.
Botanical Landscaping with Foraging Sprays and Moss
Style your habitat’s upper canopy using dried agricultural sprays: golden flax seed stalks, red and yellow spray millet, oat sprays, and sorghum heads pushed vertically into the bedding like miniature forest trees.
Tuck clusters of heat-sterilized green sphagnum moss around wood borders. This provides visual beauty, acts as soft nest-lining material, and shields the hamster from feeling exposed to overhead predators.
Naturalistic Enclosure Zoning & Substrate Textures
| Enclosure Zone | Recommended Substrate | Substrate Layer Depth | Primary Behavioral Purpose | Maintenance Protocol |
|---|---|---|---|---|
| Deep Burrowing Zone | Compressed paper bedding + meadow hay | 10 – 14 Inches (25-35 cm) | Subterranean tunnel excavation & nest building | Spot-clean monthly; preserve structural tunnels |
| Sand Bath & Dig Zone | Sterilized reptile quartz sand (calcium-free) | 2 – 3 Inches (5-8 cm) | Coat degreasing, scent marking, claw filing | Sift daily with mesh scoop to remove droppings |
| Coco Peat Soil Texture | Dry sterilized organic coconut coir fiber | 2 – 4 Inches in heavy dish | Sensory tactile digging & buried root foraging | Keep strictly dry to prevent mold; replace monthly |
| Granite / Slate Slab Zone | Smooth natural slate rock or ceramic tile | Surface layer on platform | Nail wear & hot-weather thermal heat cooling | Wipe down with warm water weekly |
| Botanical Foraging Canopy | Dried flax, sorghum, oat sprays, moss | Arranged vertically in bedding | Mimics wild prairie cover & seed harvesting | Replenish harvested sprays every 2 weeks |
Recommended Further Reading & Authoritative References
To deepen your understanding of these systems, review our companion analysis on Complete Hamster Habitat Guide and Safe vs Toxic Woods for Hamsters. For official technical specifications and industry standards, consult the Hamster Welfare Campaign & Naturalistic Care.
Preventative Health Protocols & Environmental Quality Standards
Maintaining optimal wellbeing when implementing DIY Naturalistic Hamster Enclosures requires consistent observation and strict environmental quality control. Small animals and aquatic species possess sensitive respiratory and metabolic systems that react rapidly to subtle micro-environmental shifts.
Establish a regular sanitation schedule using only pet-safe, non-toxic cleaning agents free from volatile synthetic fragrances. For aquatic habitats, conduct weekly multi-parameter water tests measuring ammonia, nitrite, and nitrate levels to preserve established biological filtration.
Conduct daily behavioral evaluations during feeding routines. Early identification of appetite variations, altered posture, or changes in grooming habits enables immediate, low-stress interventions before minor concerns develop into urgent veterinary conditions.
Comprehensive Husbandry Audit & Long-Term Management Protocols
Implementing these techniques successfully over extended periods requires continuous observation and systematic environmental auditing. Experienced caregivers recognize that baseline standards must be dynamically adapted to suit the unique physical health, temperament, and behavioral responses of each animal. By maintaining a structured weekly health and habitat observation log, you can identify subtle physiological shifts early, ensuring that your companion pet enjoys a sustained quality of life characterized by comfort, mental stimulation, and exceptional vitality.
Furthermore, maintaining strict adherence to validated veterinary guidelines prevents the subtle onset of chronic illness or psychological distress. Regularly verifying structural integrity, nutritional bioavailability, and hygienic thresholds safeguards your habitat against environmental hazards. When you invest the effort to design and maintain a meticulously curated living space, you establish an enduring standard of care that promotes thriving longevity and deep, enriching companion bonding.
Frequently Asked Questions
How do I sterilize natural branches and rocks collected outdoors?
Scrub rocks with hot soapy water and boiling water (never bake river rocks, as trapped moisture pockets can explode under heat). For branches, scrub clean and bake in a home oven at 200°F (95°C) for 45 to 60 minutes to eliminate mites, mold, and wild bacteria.
Can coconut coir soil make my hamster’s cage too humid?
Yes! Hamsters are arid creatures that require low ambient humidity (under 50%). When expanding compressed coco coir bricks with water, you must spread the damp soil across baking sheets and let it dry completely in the sun or oven before adding it to the enclosure.
Why does my hamster bury its running wheel in bedding?
Hamsters bury items when their enclosure lacks sufficient dedicated hiding spots or when their burrow entrance is right beside the wheel. Elevating the wheel on an independent wooden stilt platform prevents bedding from jamming the running track.
What is the best way to clean dried moss before using it?
Freeze dried sphagnum moss inside a sealed ziplock bag in your home freezer for at least 48 to 72 hours before placing it in the enclosure. Freezing kills any dormant mites or insect eggs.